The idea for this year’s Klipple Christmas card sat in my head for weeks. For once I was able to actually create my own card during our annual Christmas Card-a-Thon weekend last weekend and I finished them the following day after the crowd had left. After many years, that was a first. I wanted my wreath to be hanging from a fence. Actually I wanted it hanging from a gate in a fence but that was too hard to convey. I do think the idea of the fence is clear though.
The card is really pretty cut and dry:
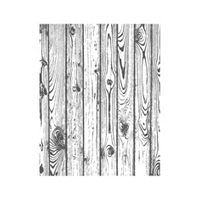
- Stamp Hardwood image on Crumb Cake card stock using Crumb Cake Classic ink.
- Use Paper Snips to cut out notches creating a ‘fence’
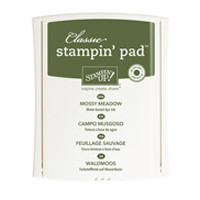
- Stamp wreath* on Garden Green card stock first using Garden Green classic ink (full wreath image) and then again using Mossy Meadow ink (layer of fewer leaves image)
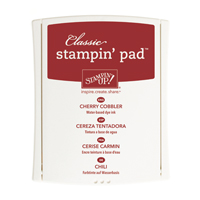
- Stamp berries using Cherry Cobbler Classic ink
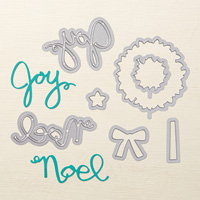
- Cut wreath out using Big Shot and Wonderful Wreath Framelits
- Cut out bow using Cherry Cobbler card stock and Big Shot and Wonderful Wreath Framelits
- Cut out Joy using Gold Foil card stock and Big Shot and Wonderful Wreath Framelits
- Attach Cherry Cobbler layer (4-1/8″ c 5-3/8″) to Crumb Cake card front layer (8-1/2″ x 4-1/4″); then attach Crumb Cake Fence layer (3-7/8″ x 5-1/8″)
- Attach wreath using Stampin’ Dimensionals
- Attach Cherry Cobbler bow using Glue Dots
- Attach ‘Joy‘ using Multipurpose Liquid Glue (aka Tombow glue). I place teeny tiny dots of the liquid glue in the places that will lay on the wreath.
- Dot berries with Cherry Cobbler Dazzling Details and set aside to dry for about half an hour
* I absolutely love the ease of using this Wondrous Wreath photopolymer stamp set and accompanying Wonderful Wreath Framelits. Why? The wreath layers (basic wreath, layer of leaves and layer of berries) each have a funny little tab sticking out on one side. (It’s hard to call the edge of a circle a ‘side’.) If your point the tab in the same direction for each layer — like always pointing the tab UP to the top of your card stock — your alignment will be as close to perfect as possible. TIP: I make a little ‘x’ at the top/tab edge of my card stock when stamping. And then, when you go to use the Framelit, point its tab in the same direction and you won’t have to struggle to find the proper alignment of the leaves. It’ll be done for you! LOVE IT!!!!


You can click on each product below to be taken right to my Stampin’ Up! store to further check out each card element. If you’d like to place an order, you can either do it yourself online, call me to do it for you or send me an email (click link in sidebar) me and I’ll place your order right away.
Product List
|
|
|
|
|
|
||
|
|
||
|
|
||
|
|
|
|
If you have this Wondrous Wreath stamp set I hope you’ve already used it. And if you haven’t used it, I hope my card will give you the courage to do so. Make some gift tags or gift cards. And the Wonderful Wreath Framelits??? So much fun and such a variety! Note the words JOY and NOEL in addition to the wreath and bow and more.
Thanks for stopping in today. I love to share and hope you enjoy what you see here. Come back again tomorrow for another idea. And in the meantime, have a great day!


